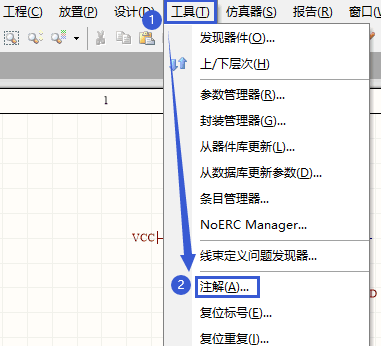
1.下载插件

2.选择图片,选择 画图 打开方式

3.编辑图片大小 像素

只需改水平的值

4.另存为bmp 格式

5.打开 AD 软件,点击 DXP 选择 运行脚本

6.浏览,选择第一步下载的插件 打开

点击 Run... 生成新的PCB

7.选择另存的图片(桌面 特纳斯科技2)

选择 层 (底层要勾选 X镜像),最后点击 Convert

图片和背景反转

8.如要继续选择其他的层或有其他的要求,直接点击 DXP 运行脚本,就会出现下图所示的文本框

声明:本站所有文章,如无特殊说明或标注,均为本站原创发布。任何个人或组织,在未征得本站同意时,禁止复制、盗用、采集、发布本站内容到任何网站、书籍等各类媒体平台。如若本站内容侵犯了原著者的合法权益,可联系我们进行处理。


